Happy Friday y’all! Have you been having a good week? I sure hope so. Today I’m really excited to bring you a tutorial on how to do a watercolor galaxy page. I think you’ll find it surprisingly easy and fun!
If you check social media of any kind in relation to Bible journaling you’ve probably seen a variety of beautiful galaxy pages. I’m hoping to show you how you can achieve a beautiful galaxy page for yourself. It’s fairly straightforward and it’s something you can practice until you master because there are a ton of scriptures that fit with a page like this!
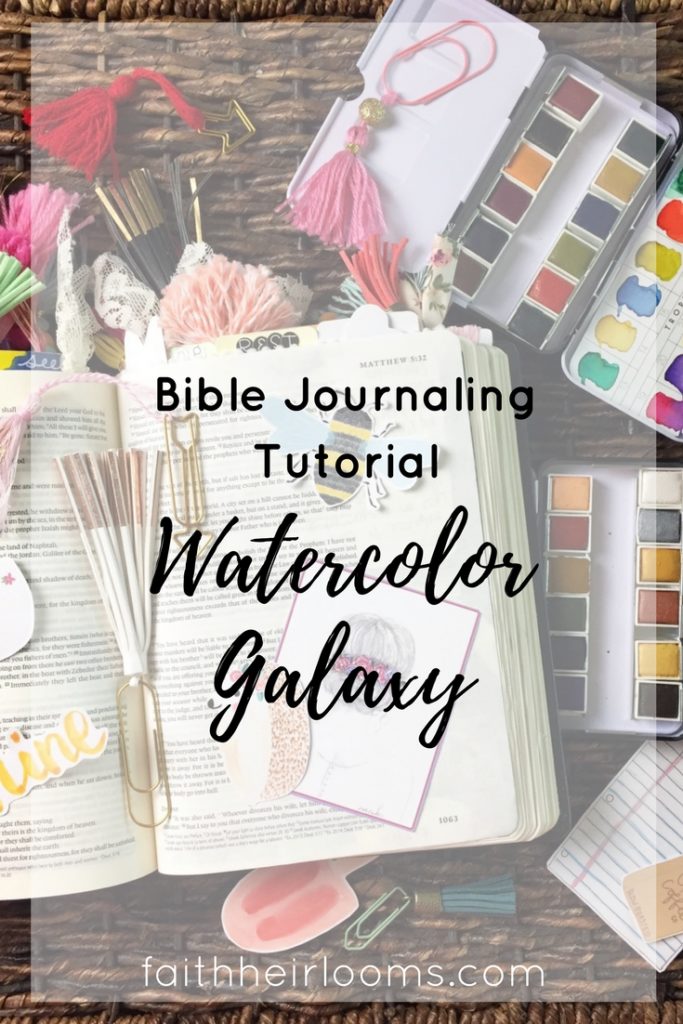
What you’ll need:
- Scrap paper
- Watercolors (I used both my Prima Watercolors and the set I made myself)
- Clean Water Cup & Dirty water cup
- Large Round Paint brush
- Large Flat Paint Brush
- White Acrylic Paint
- Newspaper
- Stickers and/or white gel pen
A couple key components to keep in mind as you work:
- Work light to dark
- Blend. Blend. Blend.
- Build in layers rather than laying all the pigment at once.
So to start off, put scrap paper behind your page. I did it on both sides because I wanted to do a double page. This will protect your other pages from bleed through. Which did happen to me a little bit on the edges of my pages, but it doesn’t really bother me. If you are worried about bleed through, you may want to prime your page with clear gesso.
Then I began to add the paint. I like to find the scripture I’m focusing on and put my lightest color there. I’m using yellow here, but you could go for white, light blue, light pink, whatever you feel like! I put it over that section of scripture so when I come back to it, I can read it more easily.
From there I begin to build the outer layers. Light pink, Dark pink, purple, etc. I don’t always go in a full circle with one color either, I might choose several shades of pink or purple to blend out on one side or the other. If you notice the darker color is starting to take over too much, clean your brush and blend with just clean water.

Again, remember you can build in layers, it’s better to go back and add more pigment, than to put too much down and not be able to take it away.
If you feel your colors are bleeding too much you might have too much water, you can use a blow dryer to get them to blend less. But be careful, if there are harsh lines, those become more difficult to blend once they are dried. Ultimately, that’s what you want to avoid: harsh lines. We want everything to blend effortlessly from one color to another.
As I continue, I start putting my first layer of a mix of bright blue and deep navy blue. Again, build in layers. Start with a light layer and blend it really well with the purple and pink. Then as you near the edges of the page, you can get deeper and add more layers of the darker blue. You can even add some black if you want to take it really deep. I blow dried my page almost fully dry and then added a second layer of navy because I wasn’t sure how dark it would be once dry. So that can help you see how it will look.

After adding the navy, I went back in and refreshed some of the colors that had lost their vibrancy like the hot pink. I also did some final blending with a clean, wet brush.

All the stars
Once you have the background the way you like it. It’s time to add our stars! Create a space with newspaper that you can protect your floors, desk, walls from splattering paint. Then, using watered down white acrylic paint (I go for about a 40:60 acrylic to water ratio), load your flat brush up. Use your finger to splatter the paint by brushing it along the bristles. This will give smaller flecks rather than potentially large ones if you just flick your brush. It also keep the splatters more controlled. If you do get any blobs that are too big, I’ve usually just dabbed at them with a paper towel right away and they clear right up. Do this until you feel you have enough stars in your sky. Then use a blow dryer to dry or let air dry.

Once it’s dry, it’s time to add your words, page marker and date. You can use a white gelly roll pen to hand letter your words or, I also find white stickers to be a fun way to do them (I used a mix of the Doodlebug Teensey Type and the Abigail in white). For this page I added a pom pom paper clip with some glitter washi tape and of course used my gelly roll pen to add a date.

There you have it! You can totally do this for yourself. So stop admiring Pinterest and create your own! If you do, we’d love to see your creation! Share it with us @faithheirlooms #faithheirlooms

*This post contains affiliate links.