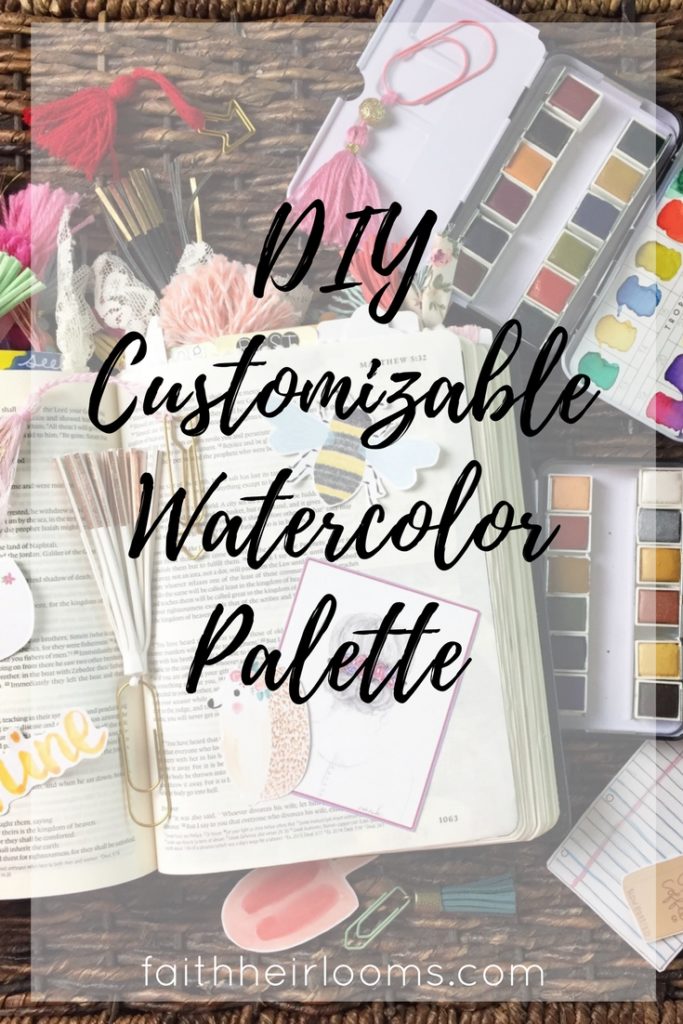
Happy Friday Friends! Today I’m am so excited to share a fun DIY I tried out recently: custom watercolor palette. This one’s long, but totally worth it!
Most of you who use watercolors or are into Bible journaling probably either own or have seen watercolor palettes like this. We’ve talked about them on the blog before here, here & here.
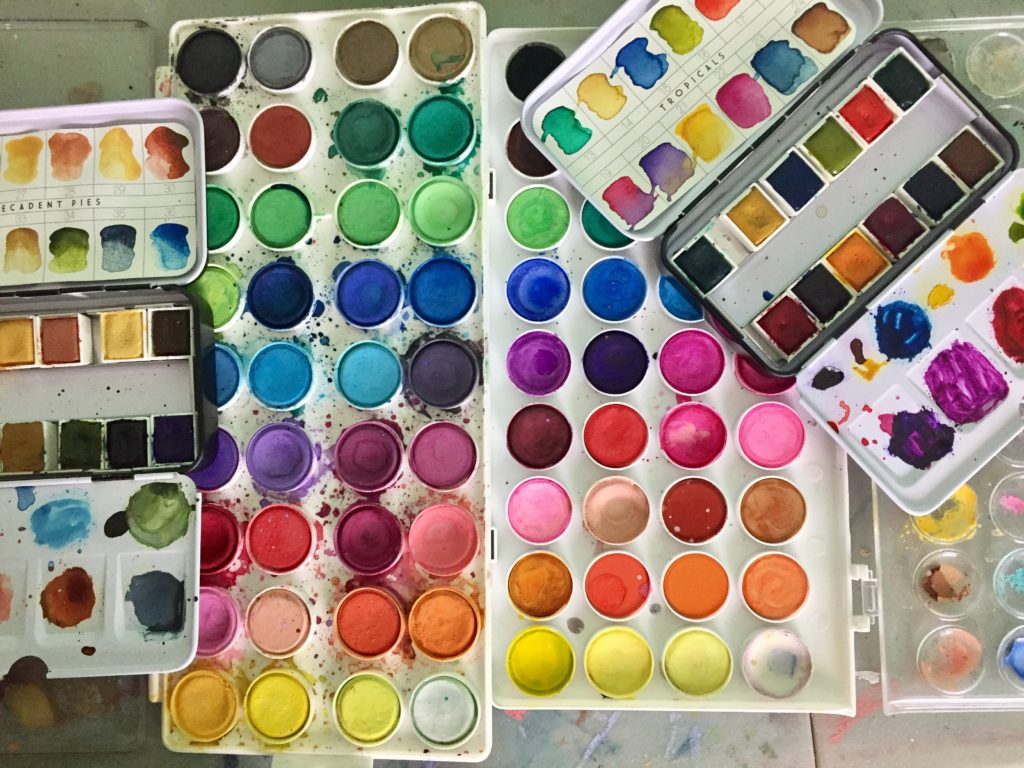
I’ve used the cheap ones from Michaels and Hobby Lobby for years. They have a fun assortment of colors and are pretty well pigmented. Unfortunately, I noticed with my bible journaling that the chalky texture was a problem because it would rub off on the opposite page.
Over the summer I upgraded and got the Prima Marketing watercolors. These are awesome. Extremely pigmented, smooth and not chalky. The thing that’s not as nice is the price tag for how many you get. They range from $15-25 at any given time on Amazon. You get twelve colors which is also limiting for someone like myself who wants ALL the colors of the rainbow. So to get a wide variety you really have to buy several of their palettes. Of course you can always mix your own colors, but that can be frustrating because you can only make so much at a time and remaking the exact color can be challenging.
Say What?
So I was looking for a solution to my watercolor problems when I came across a video on making your own watercolor palette from liquid watercolors. Say what?!? I did some more research and discovered that the paints in the professional quality palettes were just liquid watercolor that has been dried. Once it’s dried you can continue to use them just by getting them wet.
After searching around I saw several tutorials on how to do this, but none incorporated mixing your own colors beforehand. They were all just directly from tube to pan. What I wanted to do was mix some of my favorite colors that I use often and make them into a palette. I figured it should work just about the same as putting it from tube to pan, so I decided to try it out. I learned a lot through the process and now, without further ado, I’ll share that process with you…
What you Need

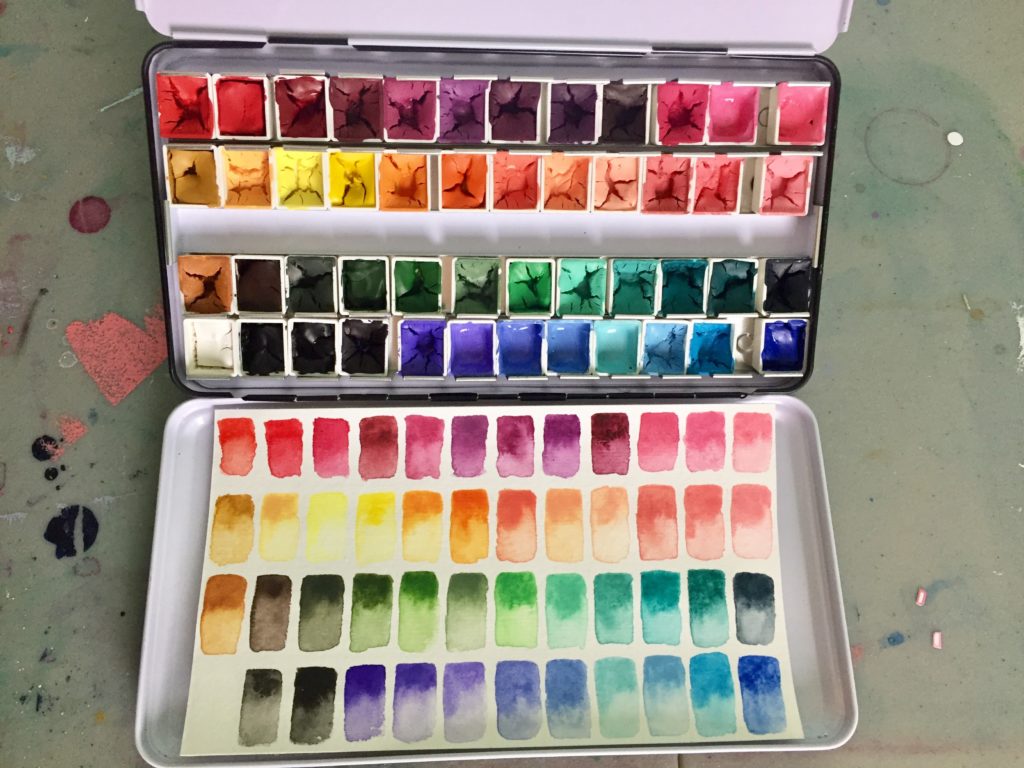
First, you’ll need a palette and pans. I chose this tin palette that already came with pans for around $19. It has room for 48 colors so I knew I would have fun coming up with colors to fill it all. However, they have different sizes of pan and palettes, so you can pick one that suits you. You’ll also want to choose some professional quality watercolors. I tried the Coloré Watercolors which were $20 on Amazon and I’ll share some more thoughts on them later. I also luckily had some other liquid watercolors on hand (not professional grade), but I ended up needing to use the white because I ran out. So I would recommend getting an extra white if you plan to make lots of pastels like I did. Next, you’ll need a palette knife for mixing and putting the colors into the pans. I used paper plates to mix my colors on, but you can mix on whatever you have on hand. And you’ll want some paper towels on hand as well.
The Process
Once I had all my supplies I started by choosing the paint colors I knew I wasn’t going to mix. I wanted the primary and secondary colors as well as black, white, brown and gray. So I started there so I wouldn’t use up too much of them while mixing. To be sure I filled the pan all the way I started by squeezing it into one corner and then pulled it all the way around to the other corners in a circle until it was full. Then I lightly tapped the pan on the table to get rid of any air holes and even out the top.

Next, I began mixing the colors I wanted to have for myself. I used the palette knife to mix and then scraped it off the plate and into the pan and tapped it to get rid of air. The knife really made a difference so I recommend getting one for this. It took some trial and error to figure out how much to make of each color so it would fill up the pan all the way, so you’ll just have to kind of test it out as you go.
 On a side note, comment below if you are interested on a separate blog post on mixing colors. If you are curious how that all works, perhaps I could do a post dedicated to that.

Once I had them all full I organized them and put them into the tin to dry. This took around three days for them to be fully dry. So you have to be patient.

Then I painted swatches of them all, once they were dry. I realized I didn’t like the order I had put them in and rearranged a bit. Then made another paper that would fit inside the palette and did swatches of the final order to reference what each color looked like on paper.

Reflections
Overall, I’m pretty happy with how the palette turned out. I now have a palette of colors I love and know I will use. However, I did learn a couple things along the way that I want to share with you guys, so you aren’t caught off guard.
#1
As I mentioned earlier, I needed extra white to mix all the colors I made. I happened to be lucky, having one on hand, but if you like those pastels, I recommend buying an extra tube of white.
#2
If I make another palette or refill any of these pans, I will not use Coloré again for several reasons. One, they smell so bad: like chemicals, rubber, plastic something. Not nice. I thought once they dried that smell would go away, but it didn’t, so that was disappointing. They also had inconsistent textures and pigmentation. Some colors were really pigmented and others took more building up (they all eventually got pretty pigmented though). Some were more liquidy and others more thick.
I should mention that they were not chalky so that was one thing in their favor. Overall, their quality definitely matched the price, so I will go for a higher quality paint next time even if they are more expensive. I’ve heard good things about Daniel Smith, Winsor & Newton, Koi and Holbein.
#3
As you may have noticed in earlier pictures, the paints also cracked and sunk down a lot once dried. I know this can happen even with nicer quality paints as well, but it seemed rather extreme in my case. I have a couple suspicions as to why: It could have been the quality of the paints. Oddly the ones I mixed with the other white (Daler Rowney Watercolors) did not crack at all but did sink, and I think those are just student grade.

My other suspicion is that the ones I mixed might have been full of small air bubbles that left as the moisture left the paints, causing them to sink and crack. I guess this because the paints that I didn’t mix at all and just squeezed straight from the tube didn’t sink or crack as much. All the paints are still totally usable, but that’s something to be aware of if you create your own palette. It won’t look as pretty as the professional ones, but it will still work!
So, there you have it. All you need to know about making your own custom watercolor palette. Pros, cons and all. If you make your own palette be sure to share it and tag us on social media @faithheirlooms #faithheirlooms we’d love to see all your pretty colors!
*This post contains affiliate links